ROD SHOP INC.


Home

Contact Us

How To Find Us

Check On My Car

Project Albums

Take A Tour Of Our Shop

Automotive Services

Classic Car Restoration

Collision Frame & Unibody Repair

Damage Appraisal & Estimating

Frequently Asked Questions

Classic Car Appraisal

Treasure Coast Auto Pro

Company Profile

Events & Car Shows

Used Car Lot

Classifieds


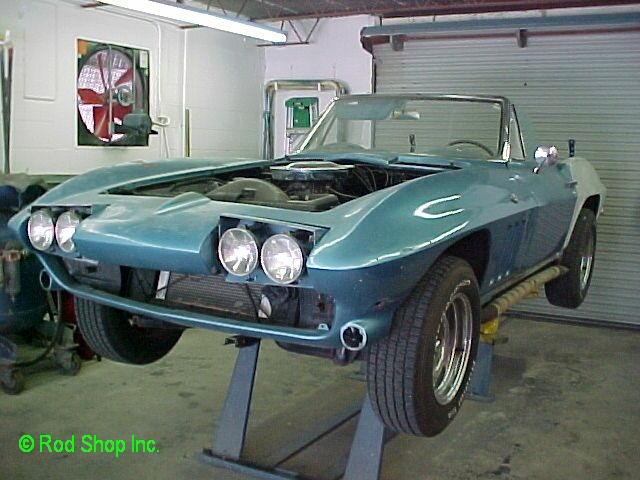
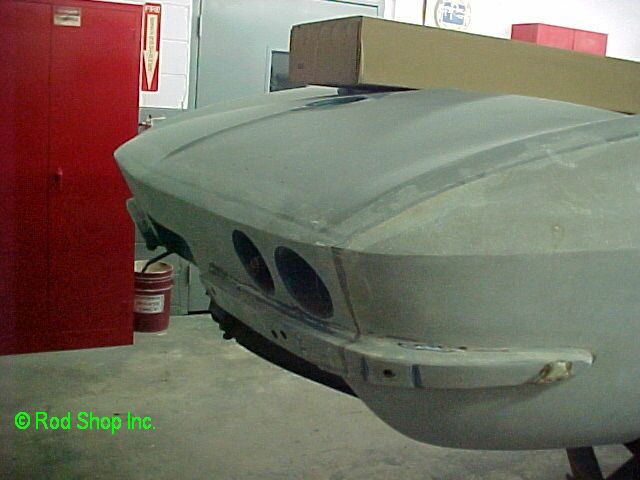
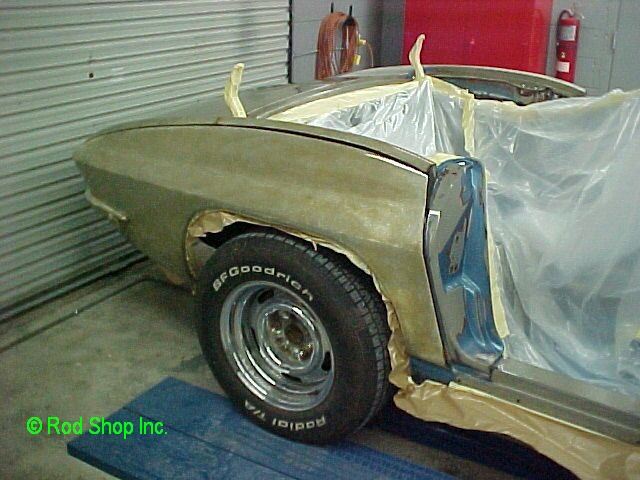
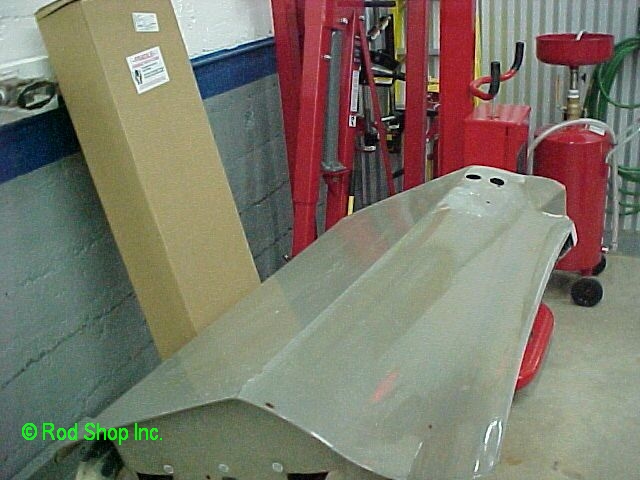
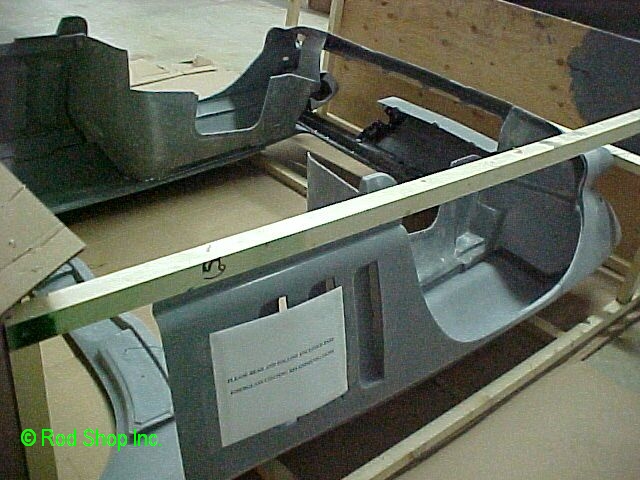
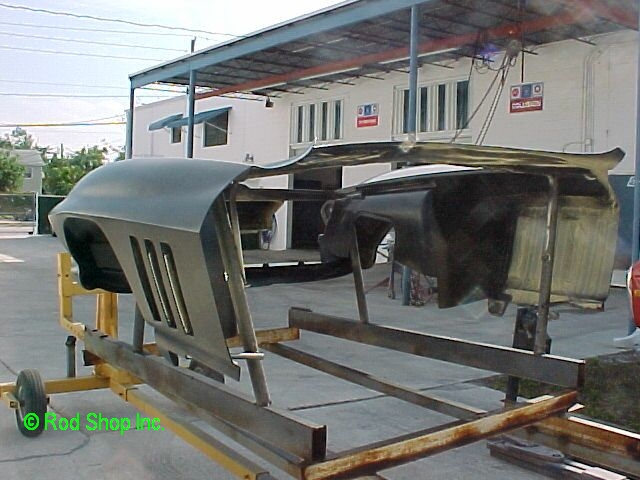
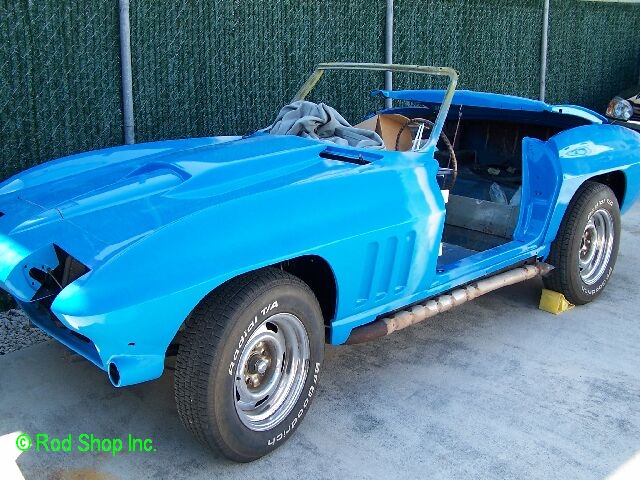
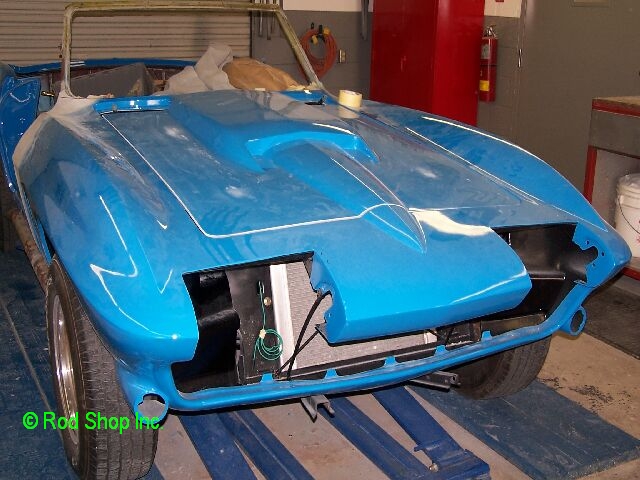
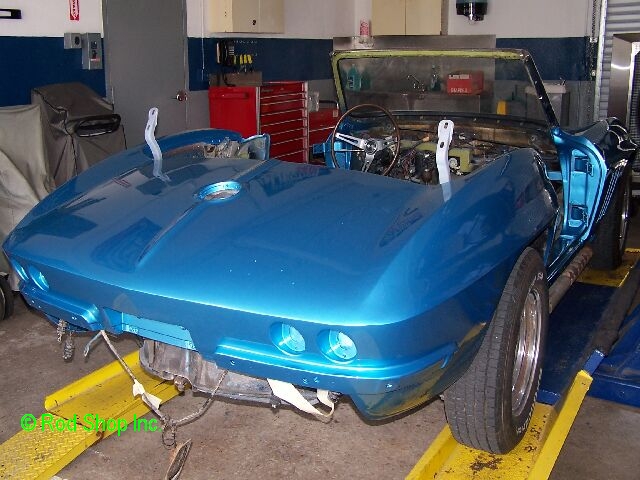
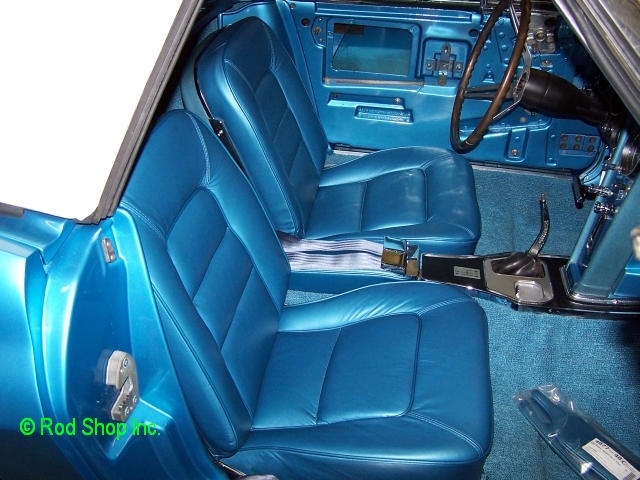
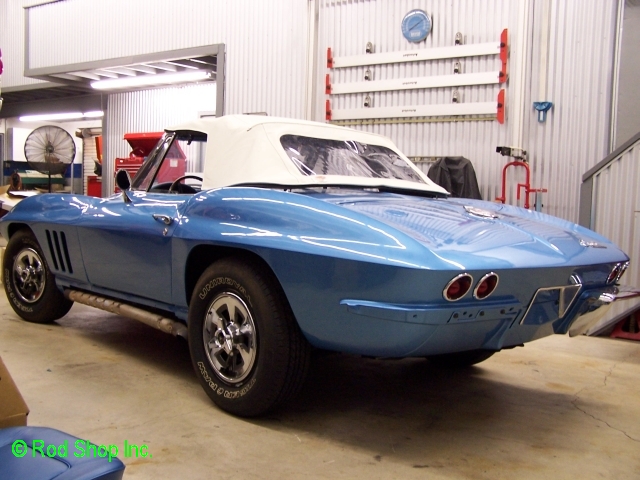
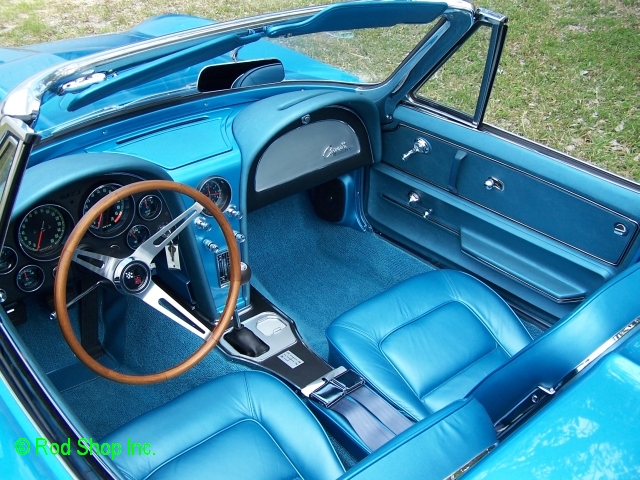
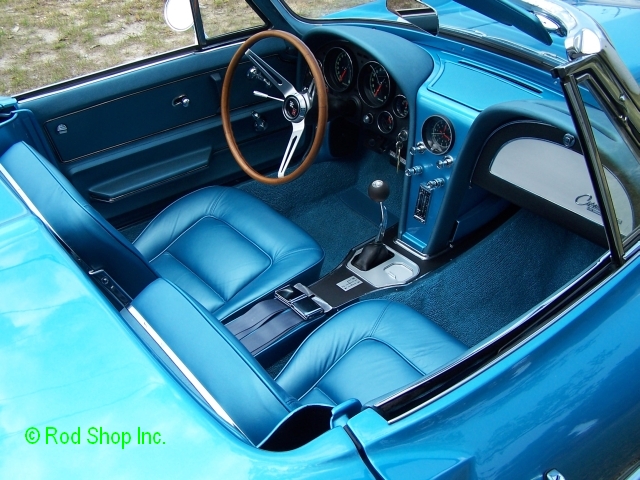
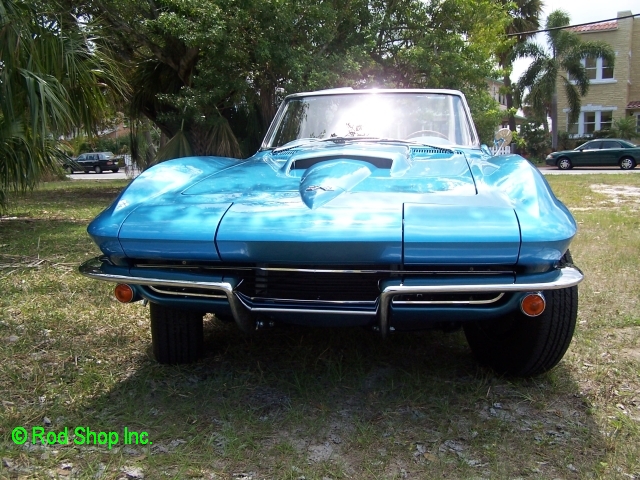
This page contains photos of  a 1965 Chevy Corvette undergoing restoration at Rod Shop Inc. Auto Repair and Painting in Stuart, Florida. on a thumbnail to enlarge the image.

Click on a thumbnail to enlarge the image.

The car as we received it, after we stripped down, and sanded off many coats of paint from the rear body. Rough and wrecked. It will be completely restored, re-fitted and painted in FF Marina Blue Metallic. 

during1.jpg (58884 bytes)  during2.jpg (51783 bytes)   during3.jpg (56482 bytes)   rearbody during1.jpg (42106 bytes)  rt qtr during.jpg (64015 bytes)

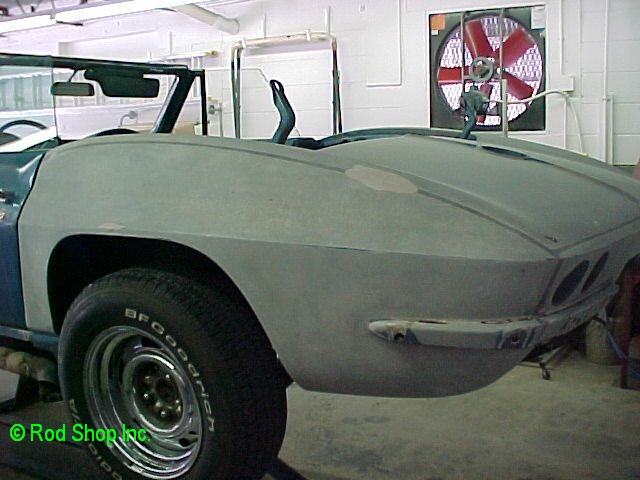
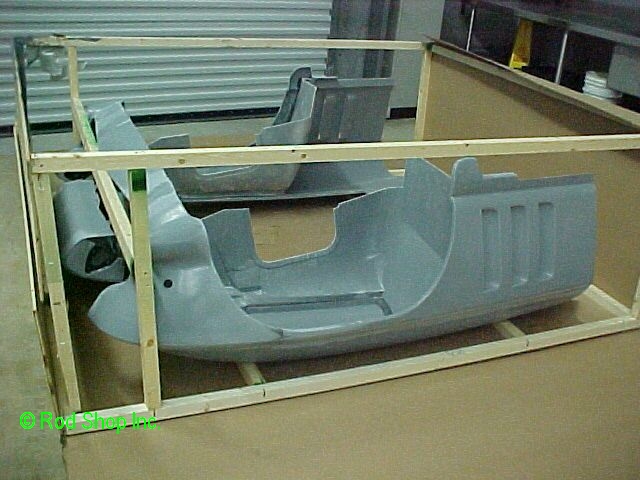
All of the old paint will be removed from the body and then body work done and cracks repaired. It will then be gel coated. 

gelcoat in progress.jpg (44332 bytes)   left qtr gelcoated.jpg (62079 bytes)   rt qtr gelcoated.jpg (61246 bytes)   lid during1.jpg (39380 bytes)   lid gelcoated.jpg (50680 bytes)   

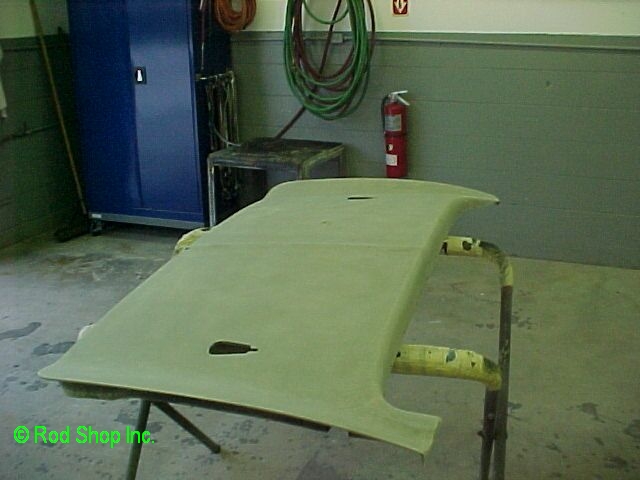
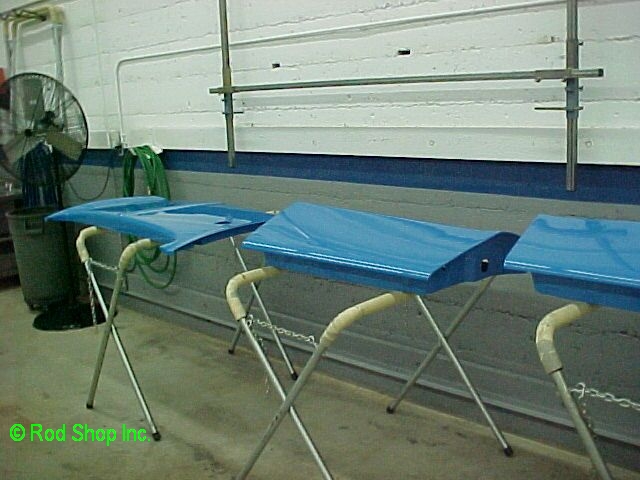
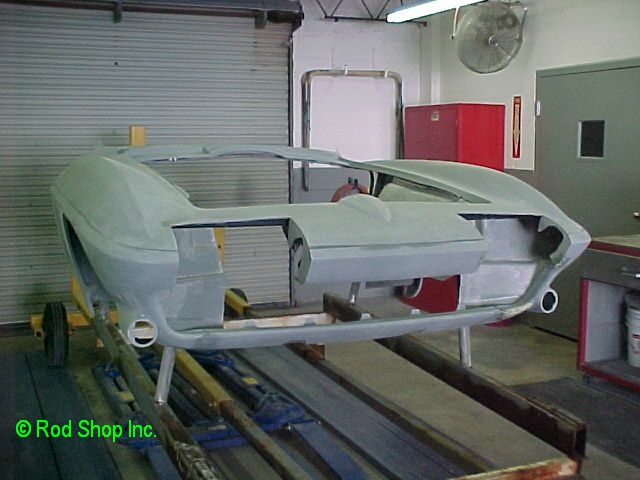
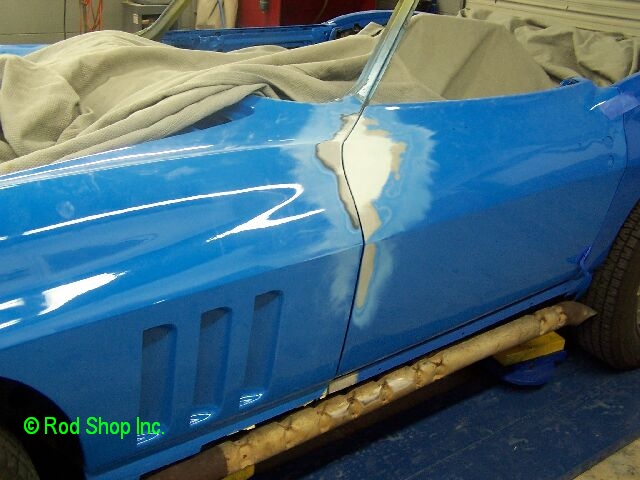
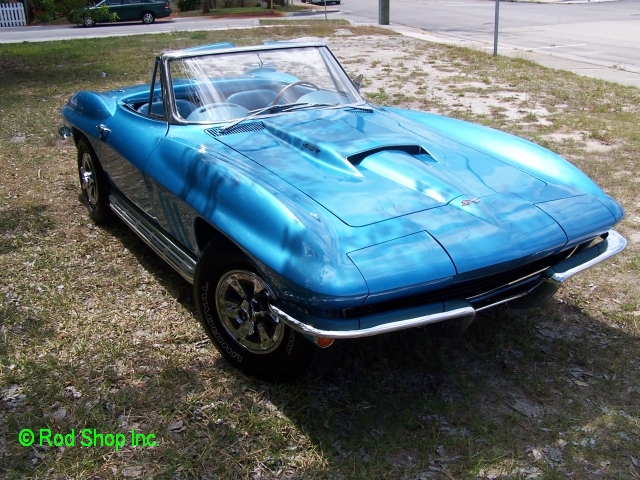
The above is the Corvette body as it is being sanded and gel coated. It will be moved through our body shop for additional fiberglass repairs. Complete surfacing using PPG materials will be performed before being painted. The many panels and fittings will be test fitted and modified before final assembly. 

door gelcoated1.jpg (57143 bytes)   door gelcoated2.jpg (57037 bytes)   lid doord in color.jpg (55706 bytes)   lid in color.jpg (62330 bytes)      

during 62106 2.jpg (71677 bytes)   during 62106 3.jpg (58190 bytes)

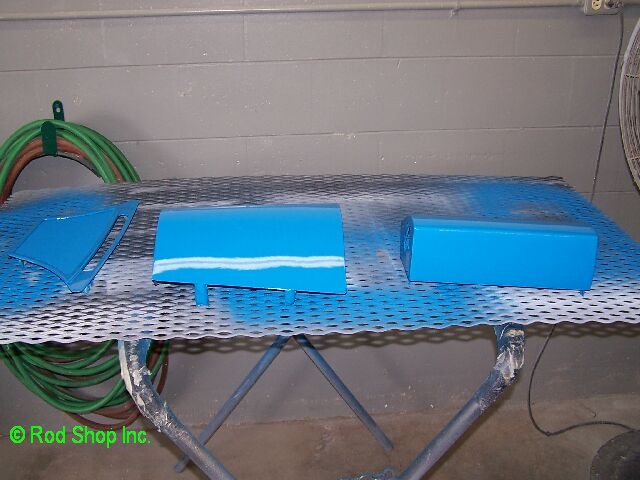
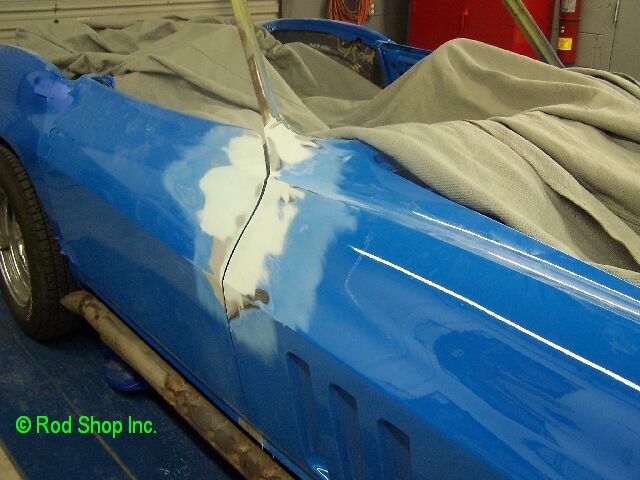
After the first layer of gel coat is sprayed the parts are sanded and filled as needed and another coat of gel coat applied. After the gel coat we spray on a coat of PPG Concept as a ground coat prior to prepping for the final basecoat clearcoat.

lt qtr in color.jpg (51022 bytes)   rt qtr in color.jpg (50486 bytes)   new nose 1.jpg (60643 bytes)   new nose 2.jpg (67741 bytes)

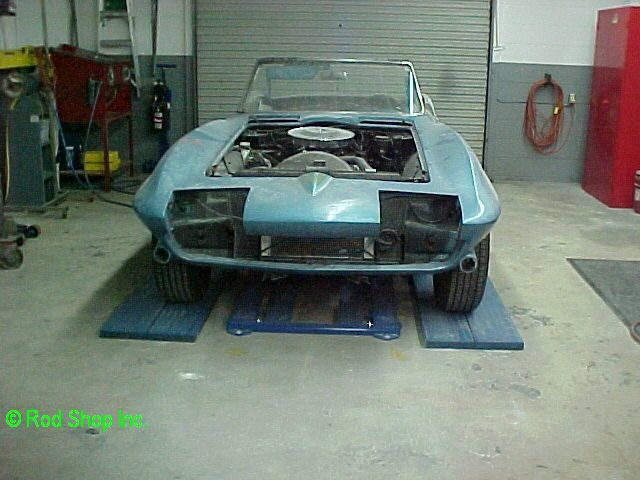
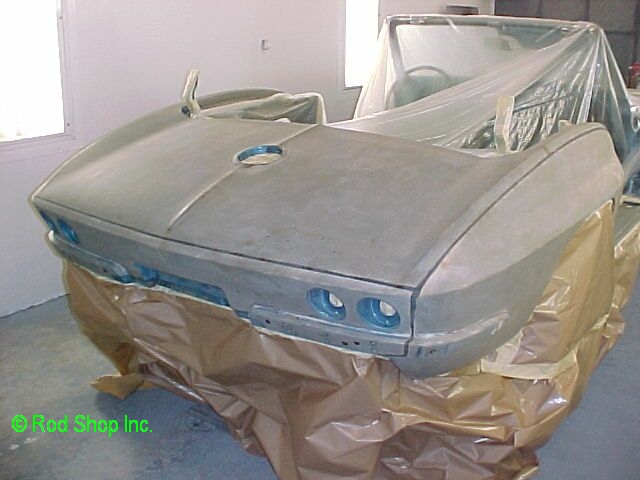
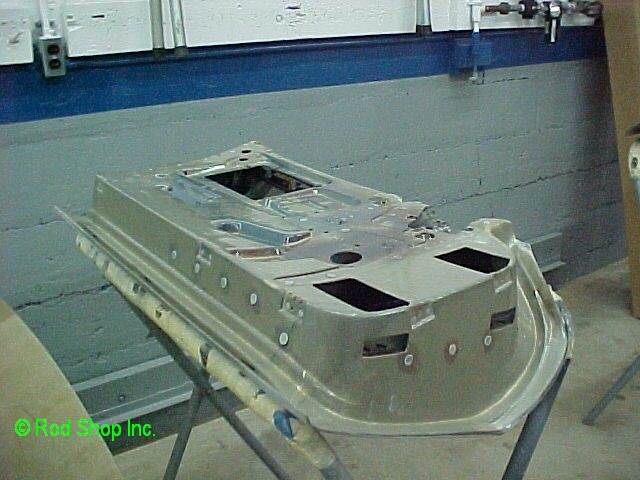
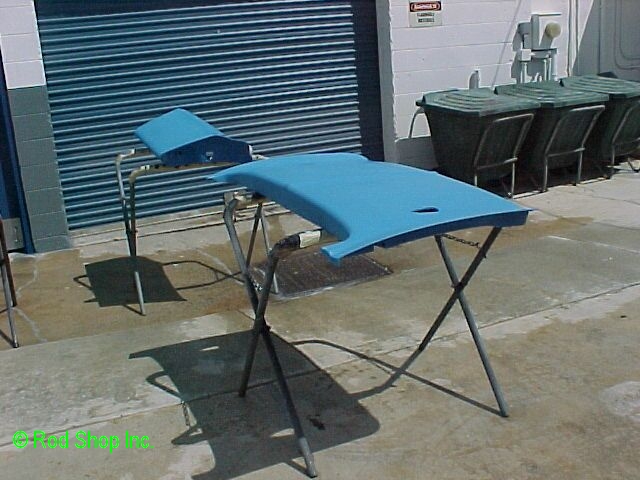
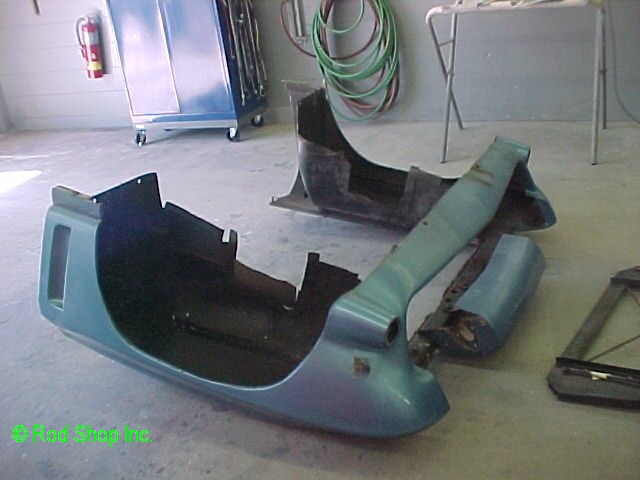
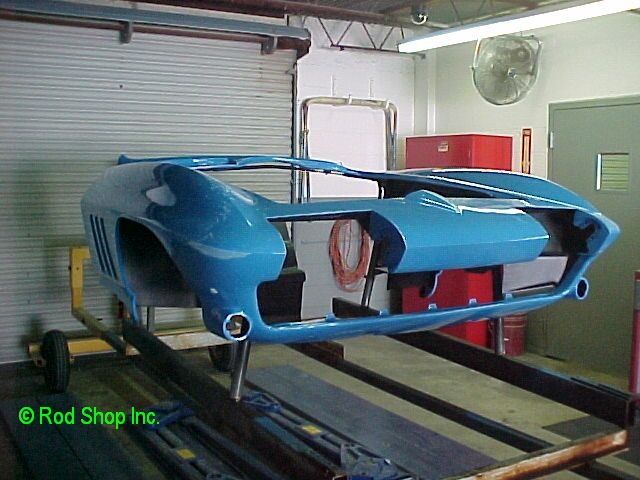
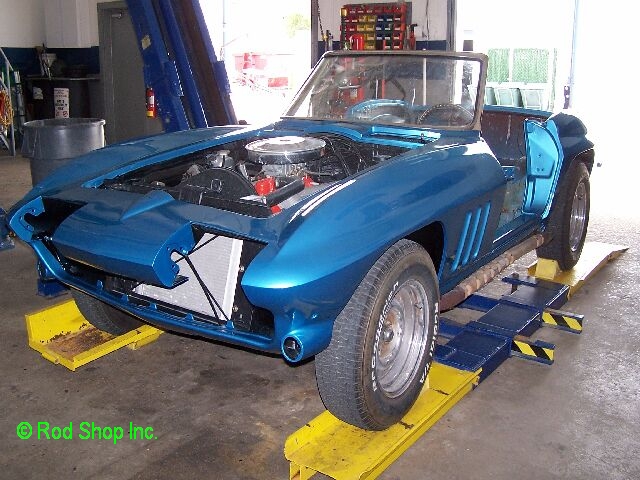
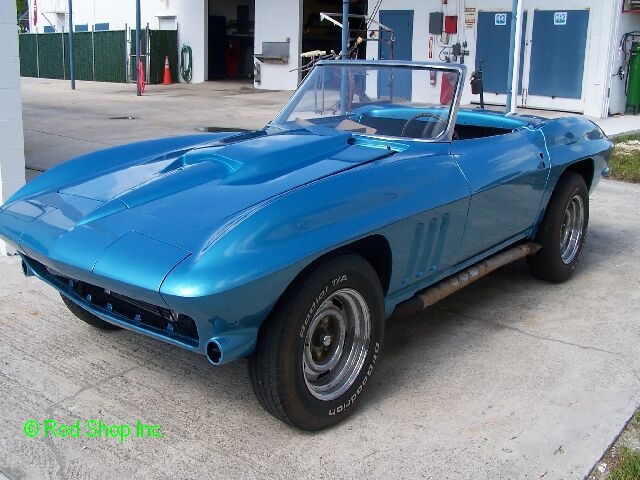
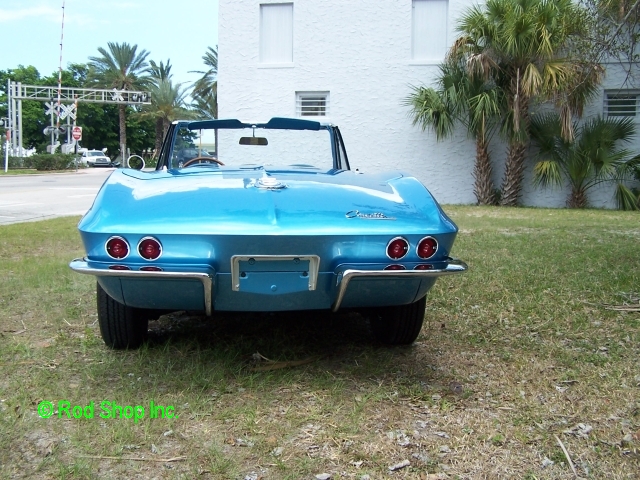
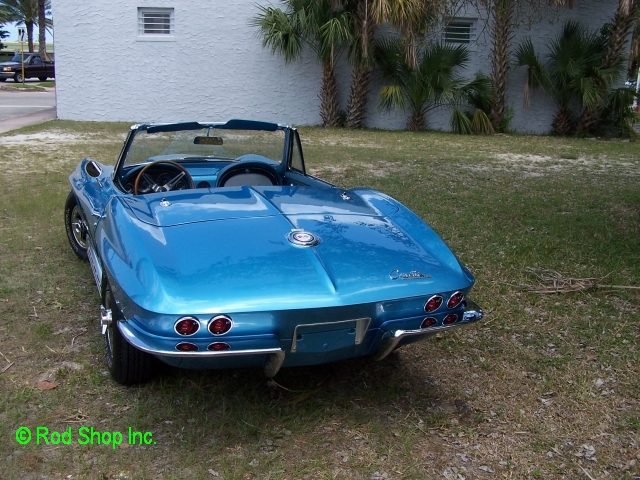
Above you see the back half of car is in color and the new nose has arrived.

nose on the floor.jpg (43671 bytes)   nose on jig.jpg (49607 bytes)   nose on jig2.jpg (59737 bytes)   nose in gelcoat.jpg (61813 bytes)

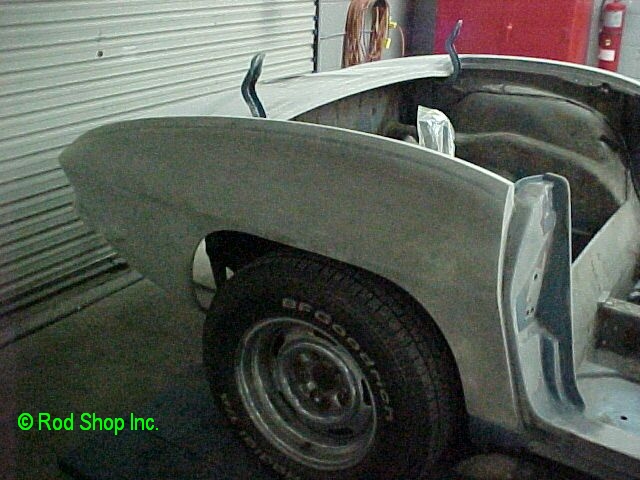
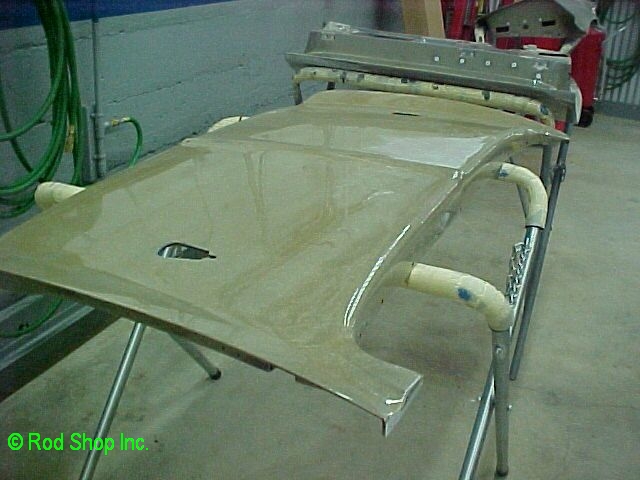
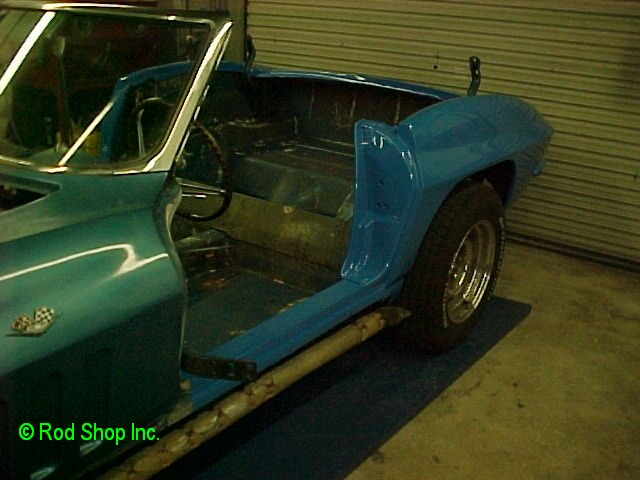
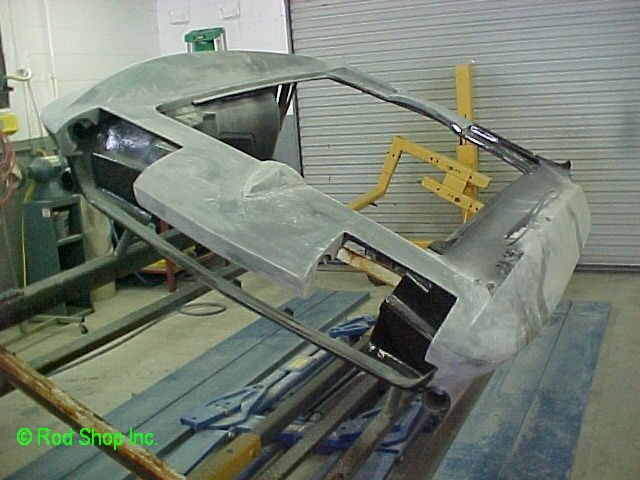
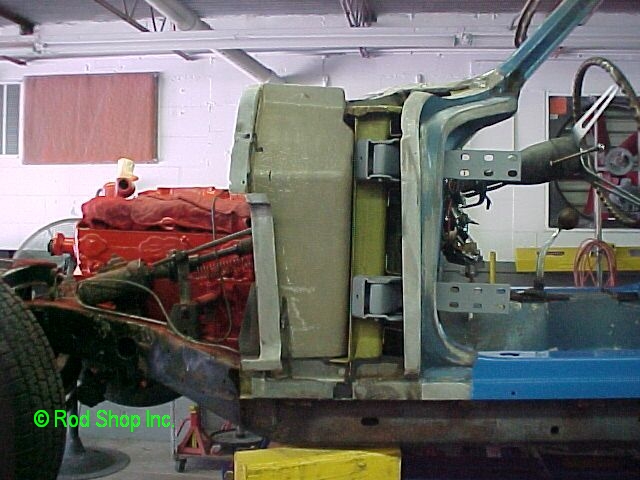
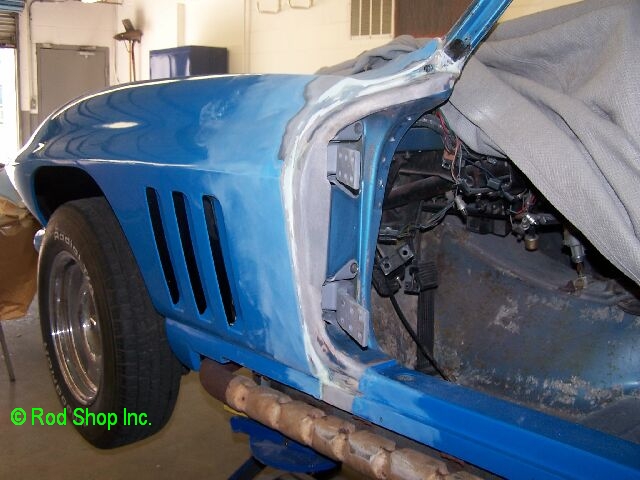
With the front end cut off we continue fitting and finishing the nose. Above the nose has been attached to our roll over jig.

lt pillar nose off.jpg (61984 bytes)   engine during.jpg (80614 bytes)   engine during2.jpg (81630 bytes)   nose in color.jpg (60752 bytes)

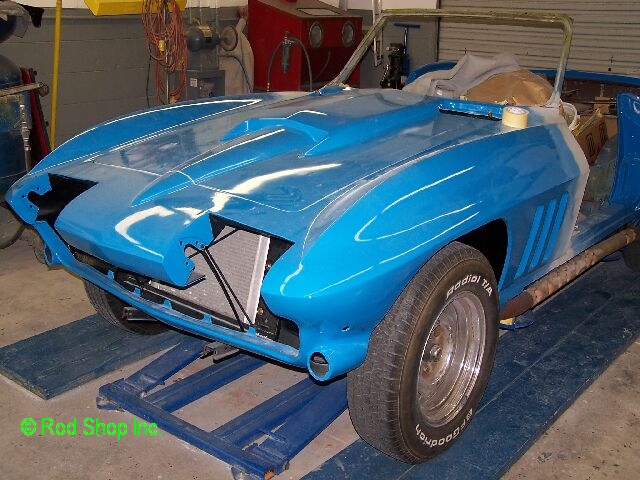
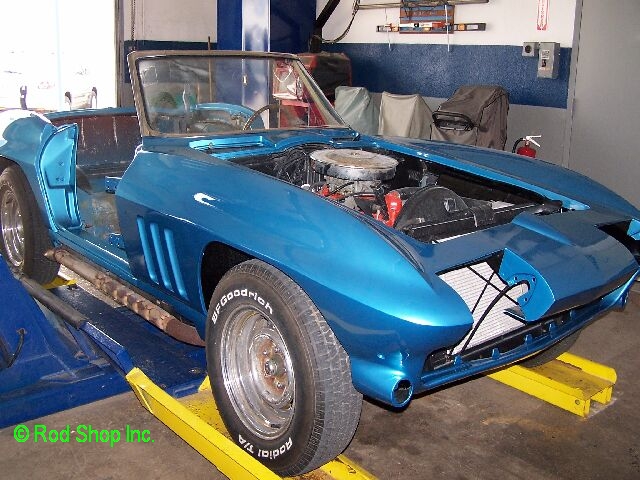
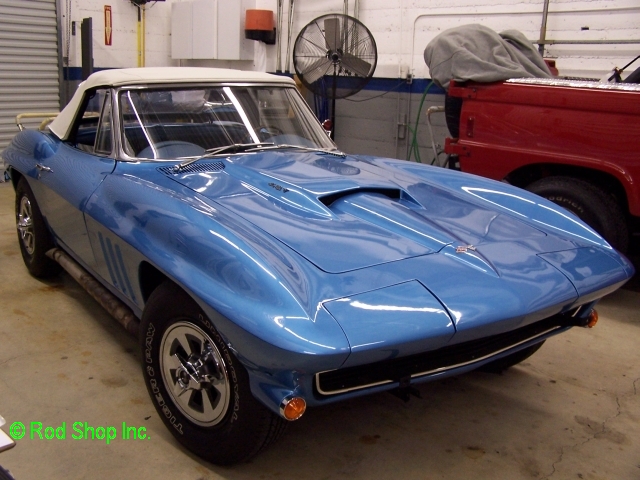
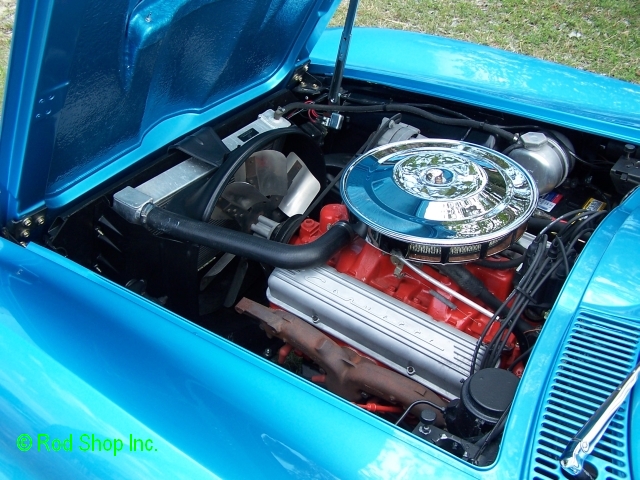
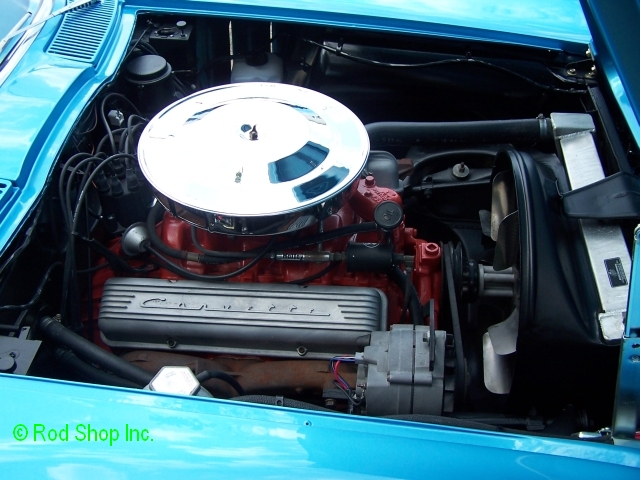
With the nose off the car we can easily freshen up the frame rails, suspension and engine. The nose has been surfaced and in color, ready to be installed on the car.

nose during 2.jpg (85880 bytes)   during 62106 1.jpg (92991 bytes)   fill jamb lt.jpg (64653 bytes)   fill jamb rt.jpg (64502 bytes)

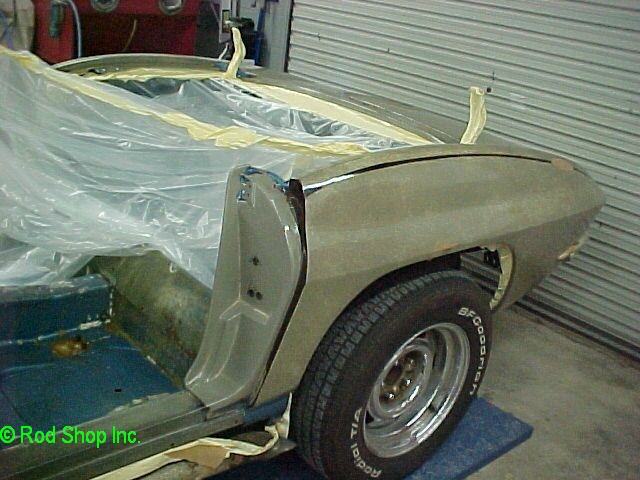
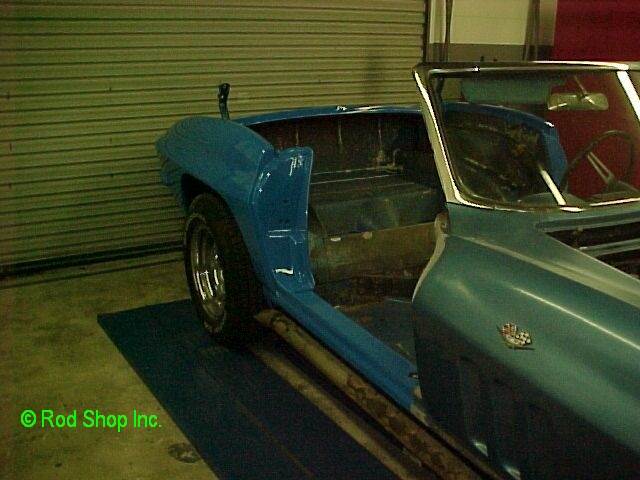
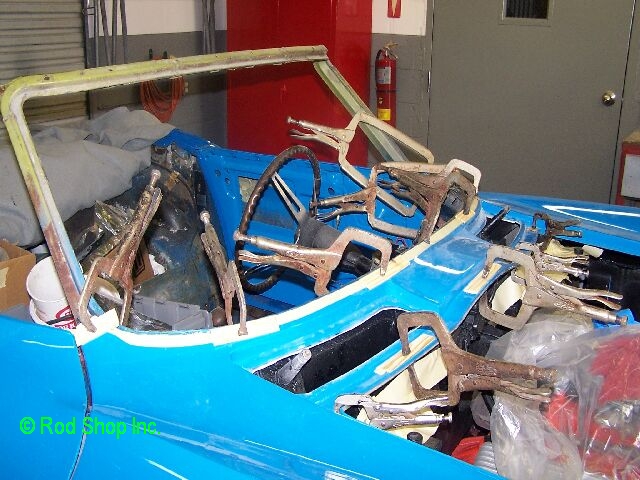
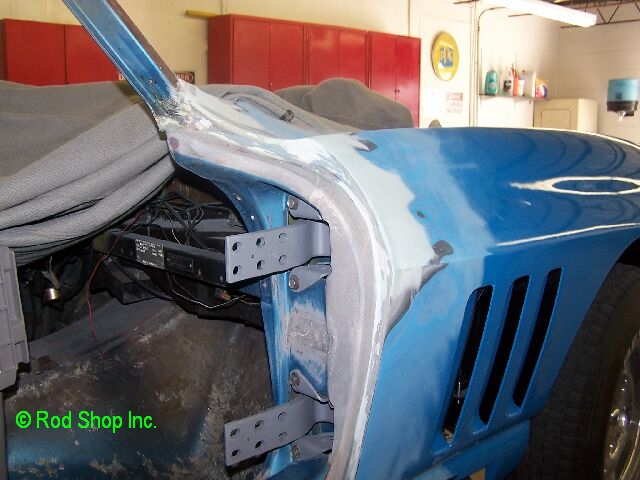
The front end being installed on the car. It is held in place with clamps while the adhesive cures. After the clamps are removed the door jamb must be filled and surfaced.

fit hood 1.jpg (82410 bytes)   fit hood 2.jpg (74096 bytes)   make lines fit lt.jpg (61310 bytes)   make lines fit rt.jpg (61886 bytes)

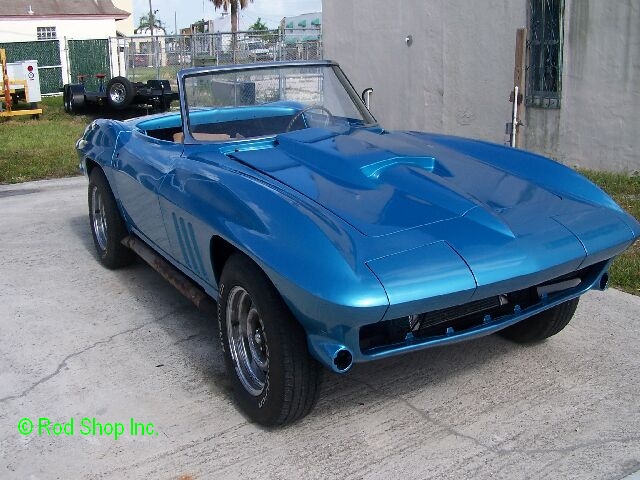
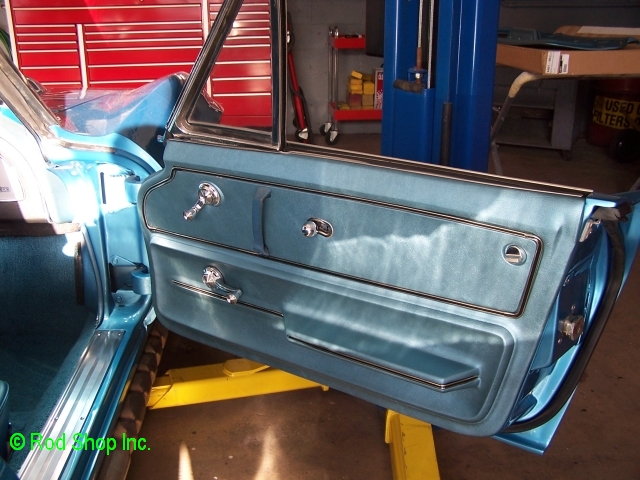
The doors, hood and other parts must be pre-fit and made to match perfectly.

lt frnt painted.jpg (86066 bytes)   rt frnt painted.jpg (89329 bytes)   lt qtr painted.jpg (75239 bytes)   rt qtr painted.jpg (75760 bytes)   

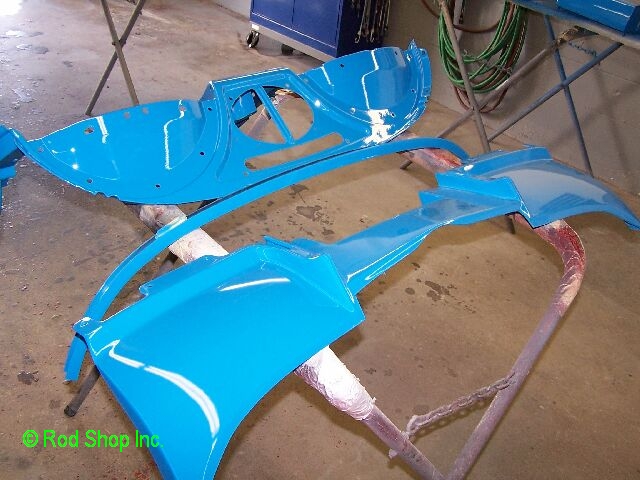
After everything fits we disassemble the panels from the car and paint everything the final color

lt front painted assy.jpg (79281 bytes)   rt frnt painted assy.jpg (77405 bytes)   segediw21.jpg (281329 bytes)   segediw5.JPG (261215 bytes)

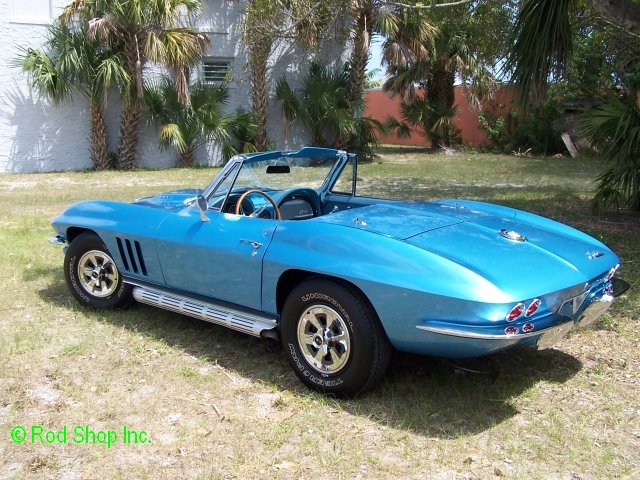
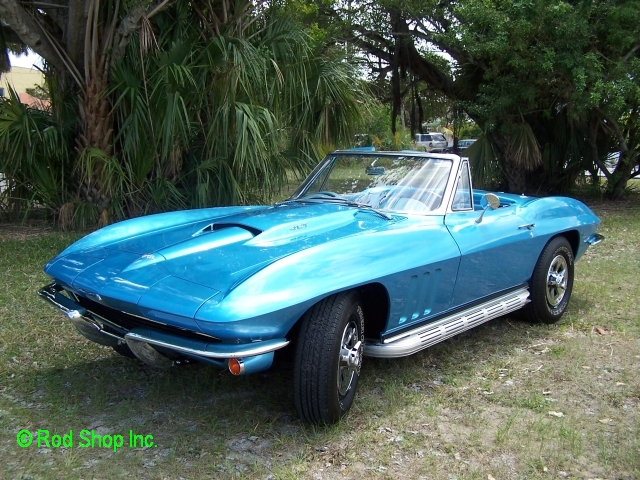
Once everything has been painted the panels are reinstalled on the car. The clear is then sanded and polished before all the final assembly can take place.

 segediw4.JPG (243761 bytes)   segediw3.JPG (257310 bytes)   segediw7.JPG (262815 bytes)   segediw15.JPG (309493 bytes)

segediw16.JPG (277706 bytes)   segediw17.JPG (294520 bytes)   segediw18.JPG (247087 bytes)   segediw13.JPG (305865 bytes)

segediw12.JPG (308833 bytes)   segediw11.JPG (299889 bytes)   segediw10.JPG (296062 bytes)   segediw9.JPG (316687 bytes)

segediw8.JPG (313260 bytes)

Back to the top of this page


Home   Contact Us    How To Find Us    Check On My Car / Project Albums   Tour Our Shop    

Automotive Services    Classic Car Restoration    Collision Repair    Damage Appraisal & Estimating    

Frequently Asked Questions    Classic Car Appraisal    Treasure Coast Auto Pro    

Events & Car Shows    Used car Lot    Classifieds

Employment


© 2014 Rod Shop Inc.

All rights reserved.